How to drive a train in trainz simulator if you came for it then i will suggest you to first read this full article for driving an train in trainz simulator. After reading this full article you will able to drive an train in trainz simulator so kindly read this full article.
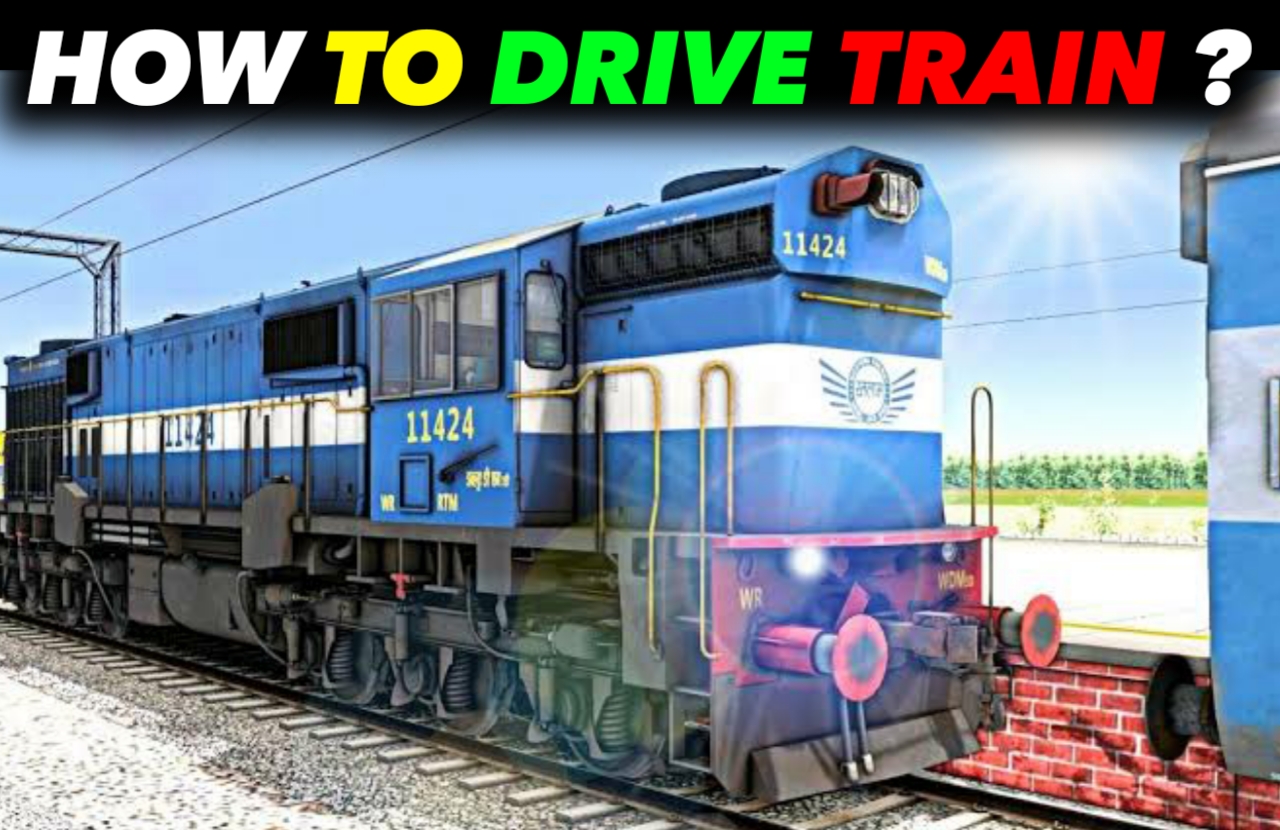
How to drive a train in trainz simulator?
For driving an train in trainz simulator follow belows all steps then you will be able to drive train in trainz simulator.
Step 1: Choose Your Locomotive and Route
Before you start driving a train in Trainz Simulator, you need to choose your locomotive and route. You can do this by selecting "Surveyor" from the main menu, which allows you to create your own route or choose an existing one, or by selecting "Driver" to choose a pre-made route and locomotive.
When choosing a locomotive, keep in mind that different locomotives may have different controls, including the type of throttle (e.g., notch, slider), the location of the reverser, and the position of other controls (e.g., brake lever, sanding valve). You may want to take some time to familiarize yourself with the locomotive controls before you start driving.
Similarly, different routes may have different speed limits, track layouts, and signaling systems, so it's important to read the route information carefully before you start driving.
Step 2: Set Up Your Locomotive
Once you have chosen your locomotive and route, you need to set up your locomotive. This may include selecting the throttle type, setting the reverser, and setting up any other controls that you may need.
To access the locomotive controls, click on the "Cab Control" button in the lower-left corner of the screen. This will open the cab view, which shows you the locomotive controls from the driver's perspective.
The exact layout of the controls will depend on the locomotive, but some common controls include:
Throttle: This controls the amount of power being supplied to the locomotive. Depending on the type of throttle, you may need to click and drag the lever, use the mouse wheel, or use keyboard shortcuts (e.g., F1 to decrease throttle, F2 to increase throttle).
Reverser: This controls the direction of the locomotive. You may need to click and drag the lever, use the mouse wheel, or use keyboard shortcuts (e.g., F3 to move the reverser forward, F4 to move it backward).
Brake lever: This controls the amount of braking force being applied to the locomotive. Depending on the locomotive, you may have separate controls for the locomotive brake and the train brake. You may need to click and drag the lever, use the mouse wheel, or use keyboard shortcuts (e.g., F5 to apply the locomotive brake, F6 to apply the train brake).
Sanding valve: This controls the flow of sand to the locomotive wheels, which can improve traction on slippery tracks. Depending on the locomotive, you may need to click and drag the valve, use the mouse wheel, or use keyboard shortcuts (e.g., F7 to open the sanding valve).
Step 3: Start the Locomotive
Before you can start driving the locomotive, you need to start it up. Depending on the locomotive, this may involve pressing a button, turning a key, or following a specific startup procedure.
To start the locomotive, you may need to follow these steps:
Turn on the battery: Some locomotives require you to turn on the battery before you can start the engine. To do this, click on the battery switch, which is usually located near the throttle.
Prime the engine: Some locomotives require you to prime the engine before you can start it. To do this, click on the prime button, which is usually located near the throttle.
Start the engine: To start the engine, click on the start button, turn the key, or follow any other startup procedure specified by the locomotive.
Once the locomotive is started, you should see some movement on the engine gauges, indicating that the engine is running properly. You may also hear the sound of the engine coming to life.
Step 4: Release the Brake
Before you can start moving the locomotive, you need to release the brake. Depending on the locomotive, this may involve setting the brake handle to "release," "off," or "running" position.
To release the brake, you may need to follow these steps:
Locate the brake lever: The brake lever is usually located near the throttle, but the exact location may vary depending on the locomotive.
Set the brake handle to the "release" position: Depending on the locomotive, you may need to click and drag the lever, use the mouse wheel, or use keyboard shortcuts (e.g., F5 to release the locomotive brake, F6 to release the train brake).
Step 5: Accelerate and Control the Speed
Once the brake is released, you can start accelerating the locomotive and controlling its speed. To do this, you need to adjust the throttle and brake controls.
To accelerate the locomotive, you may need to follow these steps:
Adjust the throttle: Depending on the type of throttle, you may need to click and drag the lever, use the mouse wheel, or use keyboard shortcuts (e.g., F1 to decrease throttle, F2 to increase throttle).
Monitor the speedometer: The speedometer displays the current speed of the locomotive. Depending on the route, there may be speed limits that you need to follow. You can adjust the throttle accordingly to maintain the desired speed.
To slow down or stop the locomotive, you may need to follow these steps:
Apply the brake: Depending on the locomotive, you may need to use the locomotive brake, the train brake, or both. You can adjust the brake lever to apply more or less braking force.
Monitor the speedometer: As you apply the brakes, the speedometer will show a decrease in speed. You can adjust the brake lever accordingly to maintain the desired speed or bring the locomotive to a stop.
Step 6: Control the Reverser
As you are driving the locomotive, you may need to control the reverser to change the direction of the locomotive. To do this, you need to adjust the reverser control.
To control the reverser, you may need to follow these steps:
Locate the reverser control: The reverser control is usually located near the throttle, but the exact location may vary depending on the locomotive.
Adjust the reverser: Depending on the locomotive, you may need to click and drag the lever, use the mouse wheel, or use keyboard shortcuts (e.g., F3 to move the reverser forward, F4 to move it backward).
Monitor the direction: As you adjust the reverser, the direction of the locomotive will change accordingly. You can adjust the reverser to move the locomotive forward or backward.
Step 7: Follow Signals and Signaling Systems
As you are driving the locomotive, you need to pay attention to signals and signaling systems along the route. These signals provide important information about the track ahead, including speed limits, track occupancy, and hazards.
To follow signals and signaling systems, you may need to follow these steps:
Read the signals: The signals are displayed along the track and provide information about the track ahead. You need to read the signals carefully and adjust your speed and actions accordingly.
Follow the signaling system: Depending on the route, there may be a signaling system that you need to follow. This may involve following specific signals and following specific procedures for controlling the locomotive.
Step 8: Stop
When you need to stop the locomotive, you need to follow a specific procedure to ensure that the locomotive comes to a safe stop.
To stop the locomotive, you may need to follow these steps:
Apply the brakes: Depending on the situation, you may need to use the locomotive brake, the train brake, or both. You can adjust the brake lever to apply more or less braking force.
Monitor the speedometer: As you apply the brakes, the speedometer will show a decrease in speed. You can adjust the brake lever accordingly to maintain the desired speed or bring the locomotive to a stop.
Bring the locomotive to a complete stop: Once the locomotive has come to a stop, you need to make sure that it is in a safe position. Depending on the situation, you may need to engage the handbrake or use other safety measures to prevent the locomotive from rolling.
Step 9: Control the Couplers
As you are driving the locomotive, you may need to control the couplers to connect or disconnect cars from the train. To do this, you need to adjust the coupler controls.
To control the couplers, you may need to follow these steps:
Locate the coupler control: The coupler control is usually located on the locomotive, but the exact location may vary depending on the locomotive.
Connect or disconnect the couplers: Depending on the situation, you may need to click and drag the lever, use the mouse wheel, or use keyboard shortcuts to connect or disconnect the couplers.
Monitor the train: As you adjust the couplers, the train will change accordingly. You need to make sure that the train is properly connected and that there are no issues with the couplers.
Step 10: Manage the Train
As you are driving the locomotive, you need to manage the train and ensure that it is running smoothly. This may involve monitoring the train's performance, adjusting the locomotive's speed and direction, and responding to emergencies or other situations.
To manage the train, you may need to follow these steps:
Monitor the train's performance: As you drive the locomotive, you need to monitor the train's performance and make sure that everything is running smoothly. This may involve monitoring the speed, watching the gauges, and checking for any issues with the train.
Adjust the locomotive's speed and direction: Depending on the situation, you may need to adjust the locomotive's speed or direction to ensure that the train is running smoothly. This may involve following specific speed limits or responding to signals and other information along the track.
Respond to emergencies or other situations: If there is an emergency or other situation on the train, you need to respond quickly and appropriately. This may involve applying the brakes, changing the speed or direction of the locomotive, or taking other measures to ensure the safety of the train.
In conclusion, driving a train in Trainz Simulator involves a series of steps and procedures that need to be followed carefully to ensure that the train runs smoothly and safely. By following these steps and taking the time to learn about the locomotive, the signaling system, and other aspects of driving a train, you can enjoy a realistic and immersive experience that captures the excitement and challenge of this unique form of transportation.

Concluusion
Trainz Simulator offers a highly realistic and immersive train-driving experience that can be enjoyed by both novice and experienced gamers. The process of driving a train in the game involves several important steps, such as starting the engine, accelerating and braking, navigating turns and signals, and stopping the train. While the game provides a detailed tutorial for new players, the tips and techniques outlined in this article can help improve your overall driving experience and ensure a smooth and enjoyable ride. Whether you're a train enthusiast or just looking for a new gaming challenge, Trainz Simulator is a must-try game that offers endless possibilities for exploration and adventure.
